


See you next Thursday! :)
KIM


 Happy new week to you! Hope you had a great weekend:) My card today uses some gorgeous SEI paper and a lovely Prima stamp, both of which you can get at Your Memories Here. I also used my Cricut to cut the branch and bird cage. I decided I *had* to have the Bloom Cricut Lite cartridge from Walmart and love it. The kraft color patterned paper is very shimmery in person and I lightly stamped the damask that is on the sentiment tag on to it also to help tie in the bit of pink. The frame is from the Prima Wings stamp set that I stamped in Distress ink and then trimmed out. To finish it off I added some pearls and some punched butterflies. Have a wonderful day!
 I have this lovely vintage frame a friend gave me & I try to do something different with it for each season. For fall, I decided to focus on some blues, greens & browns & this beautiful quote in my stamp stash that I adore. I love this quote because it reflects the love that my family shares & our belief that in our home, love can heal all things. All of the paper I used is by SEI, except the green scallop edged paper which is left over Prima packaging...I love re-using my packaging - especially Prima's since it is always so gorgeous! I used my Tattered Angels Glimmer Mist on the entire project & it all has such a lovely shimmer to it, especially the butterfly which I sprayed with some Pearl Glimmer Mist. The butterfly is probably my fav detail on this project & it is a gorgeous Prima stamp that I double stamped, cut out, & pop dotted for a great 3-D effect. The ribbon, crystals, pearls, leaves & roses are also all by Prima. The ribbon was a cream color, but I just used my Tattered Angels Glimmer Mist to make it fit my project...which is why I am crazy in love with my glimmer mist. I can use it on products I already have to suit what my needs are vs. always buying new products. How cool is that?! I also used some rub on butteflies in my stash to finish up the project..they seemed to add the right finishing touch!
 Thanks so much for taking the time out to check out my project for this week - and hanging with me through a lengthy post since I can get pretty wordy at times! LOL! If you want, hop on over to my blog for some more details & to click the link showing my spring project for this same vintage frame. Also, please make sure to check out the YMH Store for all your crafty shopping needs! There really are some fabulous items there at very amazing prices...plus some new items are in stock & they are super fun! Until next week, Happy Scrappin' friends!


 The butterfly is popped up on thicker foam while the tree image is on the thinner foam to fit over the lace.
 I just loved the background I created on the card and the effect of the cracked glass with the image that I decided to create a little corner bookmark that I've been seeing lately. I used the same cute little tree image and stamped the background so that it could be paired with the card. I added some faux stitching around the bookmark and used a border punch. This is my first time in making one of these, and I discovered that they were fairly use to make. I so see more of these in my future for my book loving friends.


 Papa is what my kids call their grandpa, and I just had to scrap this picture of all of us together. I used some wonderful patterned paper, Prima flowers and Prima self adhesive pearls, Damask embossing folder and my Cricut to create this LO. All these fabulous supplies can be purchased at Your Memories Here. We have had a tradgedy in the family early this weekend, an uncle was in a serious accident and is on life support, it does not look good. If you would say a prayer for us as we all go through this and be sure to tell your family you love them, you just never know when it might be the last time. Hugs....
 Hey y'all! Happy Sunday evening! Sorry I'm late with my post this week but I've had some Internet issues over the weekend...ugh. However, it is better late than never...especially since I am super psyched about my project this week! I absolutely love how it turned out & can't wait to showcase it in my soon to be redesigned hall!
 All of the products featured on my project are from the Your Memories Here Store & are manufactured by either Prima or Tattered Angels. I was so very happy to showcase these fabulous items as they are some of my favorites! I began with a 12x12 Canvas by Prima & then layered on some masks I made using leftover Cricut cuts. Then, I used my Tattered Angels Glimmer Mist to liberally spray around my masks & splatter a little too. I know I have mentioned it many times, but I absolutely love my glimmer mist! This stuff is soooo versatile!
 While waiting for that to dry, I used my Tattered Angels Glimmer Mist in Pearl to spray my Prima Cancan flowers & mini roses, but I didn't spray my Prima leaves. However, I did mist some on my frame to give it a little oomph...yes, you can use glimmer mist on metal! It is wonderful for so many types of surfaces including metal & acrylic, which is awesome. The bling that I added is from the Prima Say It In Crystals line & I also used some leftover Prima packaging, after glimmer misting it, for my hidden journaling. The stitched fabric letters are by Donna Downey & they were amazing to work with too.
 I love how the focus of the LO remains on a recent photo of my hubby & me...and so does the hubby! I love it when he gets as excited about a project as I do! LOL! I hope you enjoy my LO this week & that it helps inspire you to create one of your own. Also, thanks for bearing with me through my lengthy post & lots of photos! Feel free to visit my blog for more information & to take a peek at some of my other projects too...I would love it! I hope everyone has a fabulously crafty week & don't forget to check back tomorrow for Leah's regular awesome post! Make sure to check out the Your Memories Here Store for all of your crafty needs!! Until next week, Happy Craftin' my friends!


 Good Monday:) Today I have a card to share with you using some pretty SEI paper and a Halloween stamp with a different twist. I decided to *cut* apart the Snag'em candy stamp (gasp!) because I saw cute little flowers! I'm not super big into Halloween, so turning a candy stamp like this into flowers suited me much better;) I stamped one of the candy pieces 4 times inking the stem in green first and then the rose like top in purple. I then added some distress ink to the bottom to act as my ground and stamped a few cute clouds, my sentiment, embossed and punched some butterflies and finished it off with adding a Dew Drop to the center of each flower.
 Happy Sunday everyone! And for those of you who are football fans like us, yay for Opening Day! There's nothing quite like fall, football, & food! Well, except crafting'...and today I am here to share with you a LO featuring some awesome products you can get in the Your Memories Here Store.
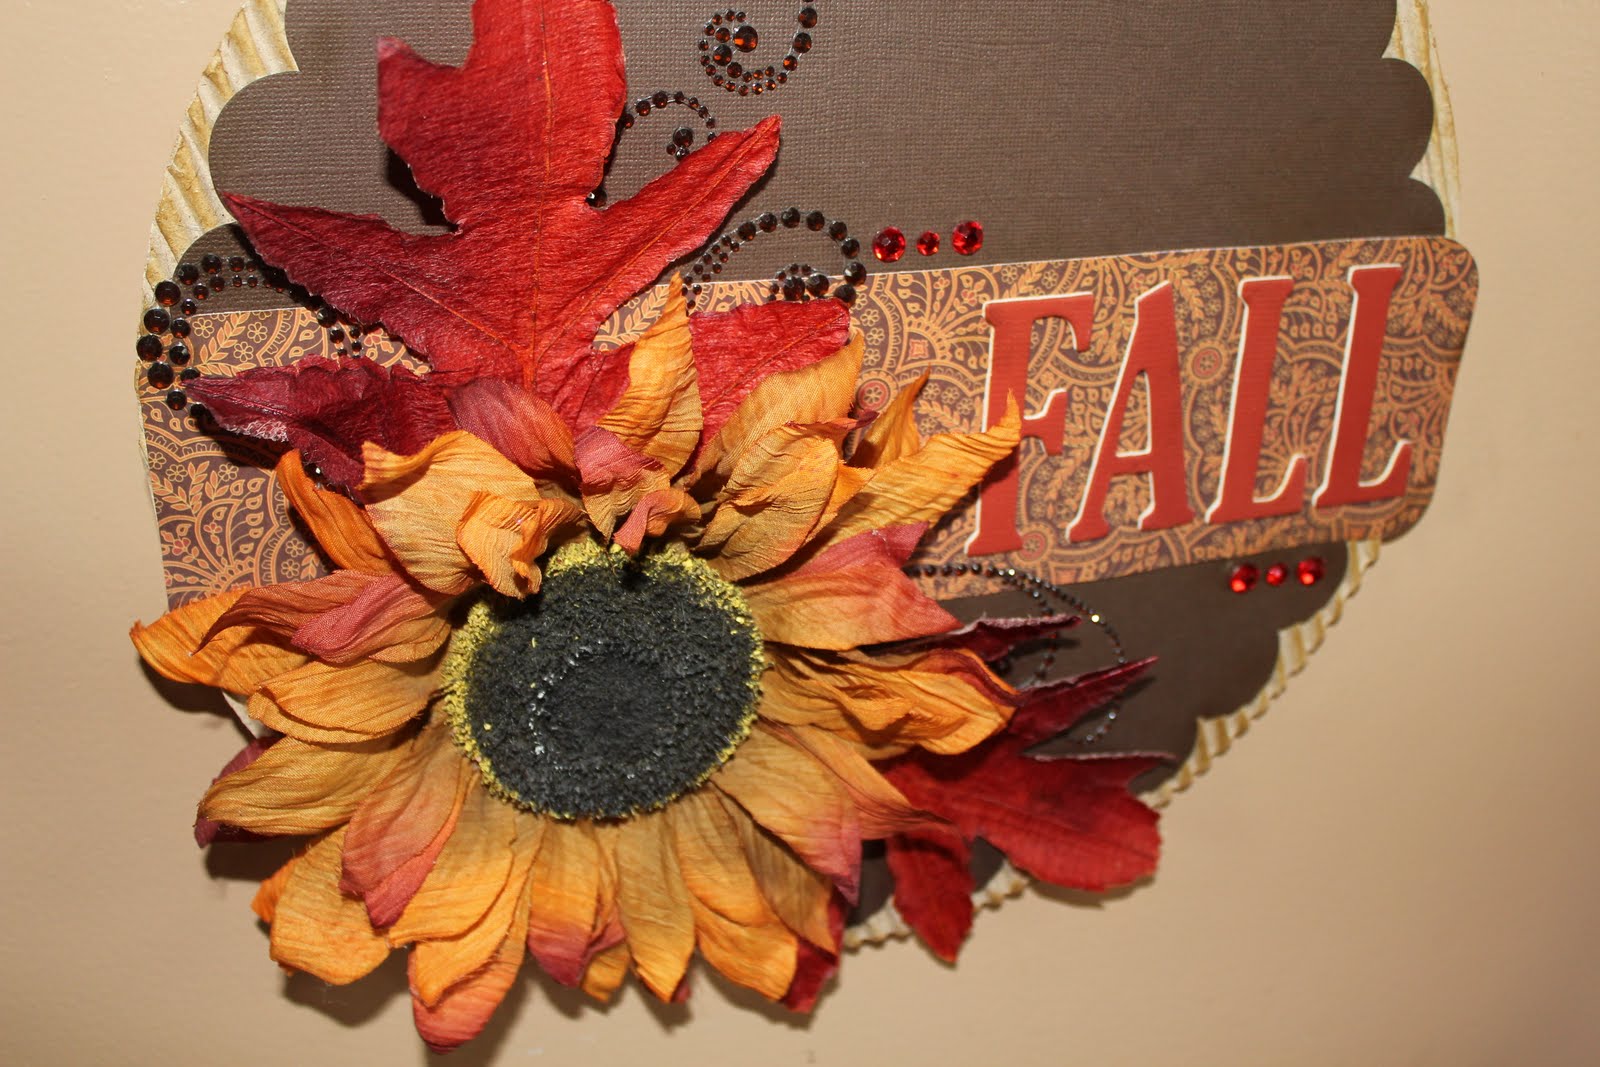
 For this LO of my hubby & I, plus a couple of friends, I used a fabulous piece of shimmery patterned paper by SEI. Isn't it gorgeous?! I also used some additional SEI paper for my diecut circle, which I distressed & generously sprayed with Tattered Angels Glimmer Mist. I actually went pretty loco with my Tattered Angels Glimmer Mist on this LO by using it as well on the lollipop flowers, the journaling spot, & the corrugated cardboard alphas. Remember, the YMH Store has an amazing supply of Tattered Angels Glimmer Mist that is perfect for so many projects...plus, the new Glitter Glam is in stock too! The flower centers are some beautiful Prima E-line Pearls that I have become quite fond of lately. There is also some new Prima products/kits in stock in the YMH Store...so make sure to check them out!
 Thanks so much for stopping by & visiting the YMH DT blog! We all love & appreciate your comments, too! Just make sure to check out all the new products stocked in the YMH Store! I hope you all have a fabulously crafty week & make sure to check back tomorrow for some more fab inspiration from the amazing Leah! And, if you wanna come on over & visit me at my blog, I'd love to have ya! Happy Craftin'!


