October 24, 2016

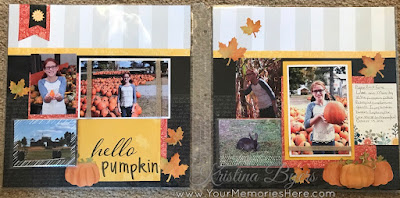
Hello Pumpkin - an Autumn Layout

I'm feeling so proud of myself, getting photos scrapbooked from an activity that just happened THIS MONTH!  Well, I'm sure this feeling wont last long because I'm reminded that I am so far behind on getting other photos scrapbooked. But that's OK, we all need to have projects to work on.

Here is my double page layout of my trip to the pumpkin patch with my youngest daughter Lilee.
I was inspired by a layout I saw on Pinterest by Char's Crafty Creations. She used these papers from Swan Lake and the contrast of the dark background was really appealing to me.
For the title I used the "hello" 4x6" from the PML sheet and then I stamped "pumpkin" with my alphabet stamps in black ink. The leaves and pumpkins on these pages are cut on my Cricut and then water colored with inks. I made a video for you showing how I did this on the previous blog post.

 On both layouts I added a 3x4" flip flap to the bottom photo so I could include more pictures from our day. Pigeon Roost Farm is more than just a pumpkin patch, there's a whole slew of things to do like a corn maze, slides, various farm animals and all sorts of other fun things. So I had taken a lot of pictures.
Here's my list of supplies that I used:
Swan Lake paper collection #X7212B
Rustic Home Ribbon #Z3292
Cricut Artbooking Cartridge #Z3169
Canary cardstock #X5772
White Daisy cardstock #1385
Black cardstock #1386
Canary ink #Z2843
Goldrush ink #Z2823
Tangerine ink #Z2809
Poppy ink #Z2852
Black ink #Z2805
Fern ink #Z2850
3"x4" Flip Flaps #Z2330
Round Water Brush #Z3224


October 23, 2016

Water Color with Inks - how to video

I'm working on my Pumpkin Patch layouts and needed some pumpkins and autumn foliage. So of course I go to my Cricut and cut some out. But I wanted them to be more dimensional and realistic so I colored them with my CTMH waterbased dye inks. And then I thought of all of you and didn't want to leave you wondering "how'd she do that?"  So I made a quick video tutorial for you.

I hope you find it helpful.
Here's a little more of the details from the video:
The Cricut cartridge is CTMH Artbooking - Z3169
I used the following inks:
                Canary- Z2843
                Gold Rush - Z2823
                Tangerine - Z2809
                 Poppy - Z2852
                 Fern - Z2850
I used the Small Round Water Brush - Z3224
The all purpose mat I used is way old and no longer available, but good news this one from CTMH is - Z2045

If you liked this video and found it helpful, please sign up for my email newsletters where I share more helpful information like this. The sign up form is located  in my side bar over there >>>>>

October 21, 2016

All About Getting More

Are you into multipurpose, versatility, MORE BANG FOR YOUR BUCK? Me too! I love when I can get more use out of my products. Sometimes an alternative use is obvious and sometimes we have to think a little outside the box. I'm happy to share my "out there" ideas with you.
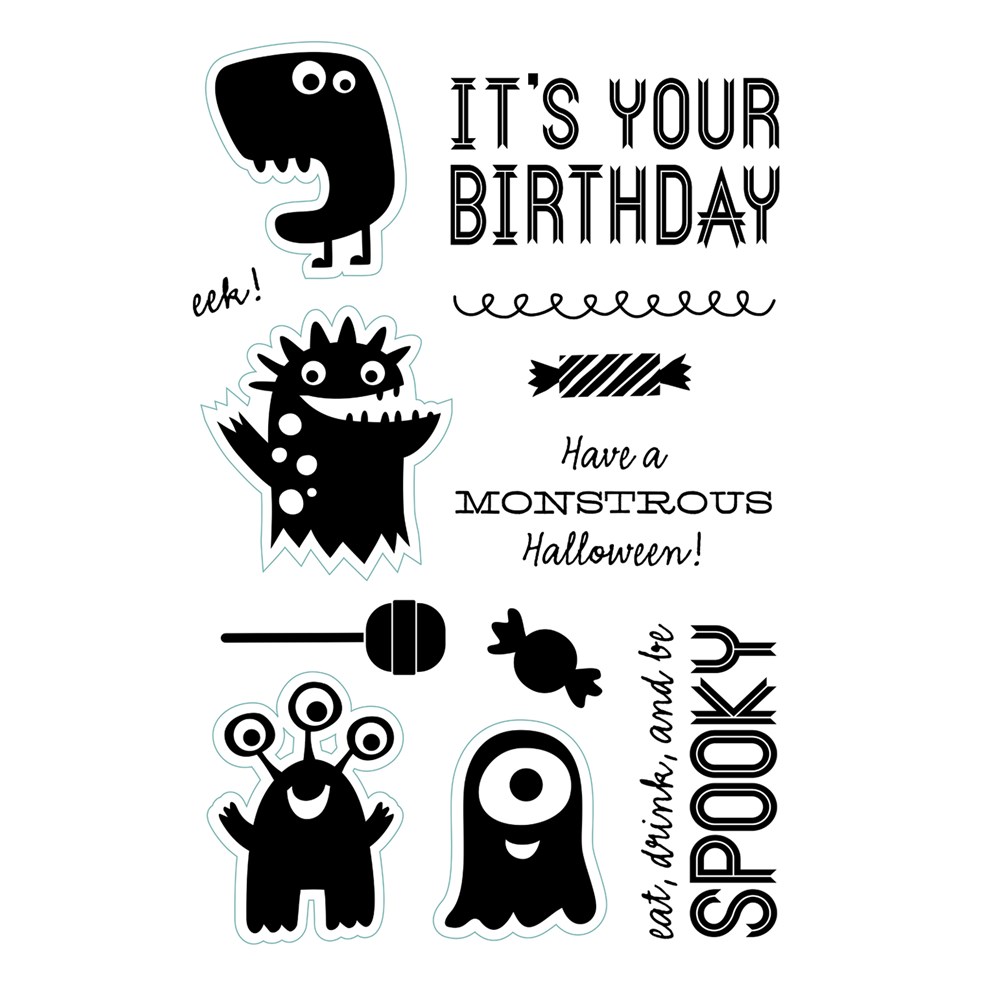
Monstrous Halloween Item Number: C1652

This super cute Monstrous Halloween stamp set is perfect for Halloween and its also great for birthday cards (it does have a birthday sentiment) So you're able to get some use out of it beyond Halloween.
Here's a couple cute birthday cards I've come up with, perfect for a little boy (or girl or anyone who digs monsters and aliens)

And then there's this one, that doesn't even resemble the obvious choices.
If you'd like to see even more "out side the box" ideas and other creative crafty tips, sign up for my newsletter. I'll share project ideas, tips and fun stuff - nothing spamy EVER.

Sign up for creative tips, ideas and special offers.


* indicates required


October 4, 2016

One Sheet Wonder with Cricut

Have you heard of One Sheet Wonder (or OSW) cards? They're these great way to use one piece of patterned paper (usually double sided) and create many cards/layouts/projects etc.
So far, every one I've found uses a "cutting guide" to tell you exactly how to cut apart your paper in various sizes and shapes (most often rectangles, squares and triangles) and then how you adhere those pieces to the front of your blank cards (and maybe add some stamping and embellishments) to create a lot of beautiful cards with only one sheet of paper.

For me, cutting all those little squares and strips and rectangles is really boring and I want to get right to the fun part of creating and decorating. You want to know another little secrete? Paper trimmers are not my friends. No mater how hard I try to make sure its lined up and on the correct measurement, I still manage to cut it crooked! Maybe it just me?

My solution, I use my Cricut for AS MUCH as I possibly can when designing projects. It does all the work for me! I just load my paper onto the mat and send it to cut and then all those little pieces are right there waiting on me to make something pretty (and correctly sized, might I add). 

That is why I designed this one sheet wonder cut file.This cut file makes these 10 cards:

It takes just one 12"x12" sheet of B&T paper (and don't forget to save your zip strip too, those are bonus pretties). It uses all the paper with very little waste AND it DOES NOT require a cartridge! All you need is the Cricut Design Space program for your Cricut Explore (sorry this is for DS users only).
And because I designed it for myself, I didn't just use squares and rectangles and other straight edge shapes, I mean this is the Cricut so there's way more capabilities than those mean ol' trimmers that only cut straight lines. Here's 5 more cards using the same cut file:

Of course I want to share this cut file with you, so all of my newsletter subscribers will get the file emailed to them, along with how I chose to use it to assemble my cards shown here (but of course you can mix it up and make your own card designs too). Every time you use a different pattern paper you make a whole other set of cards! Here's a few examples of that:
If you want this cut file for Cricut Design Space just sign up for my newsletter and I'll email it to you!


Sign up for my newsletter to recieve the Cricut Cut File

* indicates required